Vapoursynth
VapourSynth is an application for video manipulation. Or a plugin. Or a library. It’s hard to tell because it has a core library written in C++ and a Python module to allow video scripts to be created.
Fredrik Mellbin, creator of VapourSynth

Introduction
In the realm of video processing, one will frequently encounter media with various quality issues. These can range from minor imperfections to significant degradation, including:
- Excessive film grain or noise that significantly increases bitrate due to its unpredictable nature
- Visible banding artifacts
- Unwanted halos around objects
- Interlacing issues in older, unrestored footage
- Telecine artifacts from improper film-to-video conversion
- And more, on our video artifacts page.
To address these challenges, video filtering techniques are employed. Currently, there are three primary software frameworks used for video filtering:
VapourSynth is designed as a 21st-century upgrade and rewrite of AviSynth, which was originally created by Ben Rudiak-Gould, Edwin van Eggelen, Klaus Post, Richard Berg, and Ian Brabham in May 2000. One of the most attractive features of this complete rewrite is its improved multithreading capability, an area where AviSynth struggled due to its aging infrastructure.
Some longtime AviSynth users are reluctant to switch to VapourSynth, preferring to stick with a familiar workflow. There is nothing wrong with this preference, as both tools have their merits in video processing; that being said, the Codec Wiki's Filtering section focuses primarily on VapourSynth (and occaisonally FFmpeg). It is important to note that working with VapourSynth requires a basic understanding of Python, as the filtering process involves scripting.
Installation
Microsoft Windows
- At the time of writing, Python 3.12 is required. This will change in the future so consult from their website
- Download the installer (
.exe) unless you require portability - Install it
Arch Linux
Currently, Arch is the best Linux distribution for working with Vapoursynth due to the fact that the vast majority of filters and plugins are available in the AUR. This makes installing and updating filters easy. If you are not already, we recommend using an AUR helper such as paru or yay.
To install vapoursynth, simply install the vapoursynth package from the official repositories using pacman or your preferred AUR helper.
Plugins are all prefixed with vapoursynth-plugin-, such as vapoursynth-plugin-lsmashsource-git, and as such can be discovered easily.
Other Linux
Vapoursynth is supported on all Linux distributions. Installation methods may vary by distribution.
Contributions would be helpful to provide instructions for more distributions.
Previewing
There are currently two leading previewers for Vapoursynth. If you want to preview your scripts with capabilities such as seeking, you will need to use one of these applications.
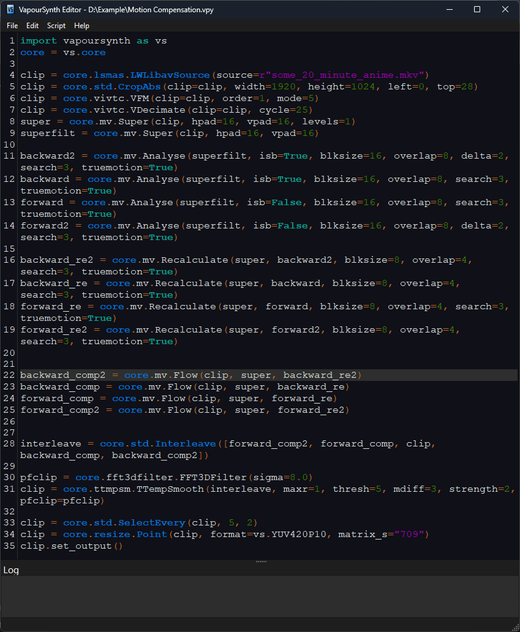
The first is YomkioR's Vapoursynth Editor, which includes a built-in code editor alongside a video previewer. This makes it extremely easy to set up for users who are new to Vapoursynth.
The second is JET's fork of vs-preview, which is a standalone previewer with utilities for tasks such as cropping, screenshotting, and uploading comparisons. This tool is more advanced than Vapoursynth Editor, but does not include an editor, so you will need to pair it with an editor such as Visual Studio Code. The Github for vs-preview includes instructions for setting this up.
Output
Vapoursynth provides a command-line utility called vspipe for outputting filtered video. Using this utility to pipe y4m video
is the most common way to use Vapoursynth with an encoder.
For example, the following command would pipe the output from a Vapoursynth script into x264:
vspipe -c y4m input.vpy - | x264 --demuxer y4m -o output.mkv -
Source Filters
For Vapoursynth to produce output, it has to load a video in some way. This way is with source filters.
The most basic method is using BlankClip to create a clip of a certain resolution and frame rate. For example, the following
script would give us a blank clip at 640x480:
import vapoursynth as vs

core = vs.core

clip = core.std.BlankClip(width=640, height=480)

clip.set_output(0)
But a plain black video isn't very useful, is it? We want to load real videos so we can do filtering on them. For this, there are a few different source filters we can look at.
LSmashSource
LSmashSource is a source filter using lsmash as the underlying source library. It is the most commonly used source filter, and is generally reliable for most source formats, though may have frame accuracy issues when seeking with certain input formats, such as VC-1. If this is a concern, it can be recommended to encode to lossless first before using any encoding methods that require seeking, such as av1an.
Here is an example of loading a video file using LSmashSource:
import vapoursynth as vs

core = vs.core

clip = core.lsmas.LWLibavSource(source="input.mkv")

clip.set_output(0)
ffms2
ffms2 is a source filter based on ffmpeg. It generally should give the same results as LSmashSource, especially when using the git version which has fixed support for newer formats such as AV1. If having issues with a source file with LSmashSource, ffms2 can be a good fallback to try.
import vapoursynth as vs

core = vs.core

clip = core.ffms2.Source(source="input.mkv")

clip.set_output(0)
BestSource
BestSource is also based on ffmpeg, but uses additional techniques to ensure frame accuracy in all scenarios with all input formats. The downside is that it must decode the entire video during indexing, which means the first load of a given video will take longer. Subsequent loads will be quick, because BestSource caches the index in a file.
import vapoursynth as vs

core = vs.core

clip = core.bs.VideoSource(
    source="input.mkv",
    cachepath="/"
)

clip.set_output(0)
We add the cachepath="/" setting to emulate the behavior of the other source filters, which is to place the index file next to the source video.
This helps with portability and cleaning up after ourselves. The default behavior is to place the index file in a temporary directory local to the machine.